A VM template is a master copy which we use to deploy multiple VM with our defined base setup. Usually, creating VM template using System Center Virtual Machine Manager is pretty staraight forword however once it comes for Windows 10 then there is different scene- “SysPrep Failed” error. It comes everytime whenever I tried to create template in usual way.

So I chose other way to create Windows 10 VM Template.
Steps:
- Create a VM with Windows 10 OS.
- Login into the VM once it gets created.
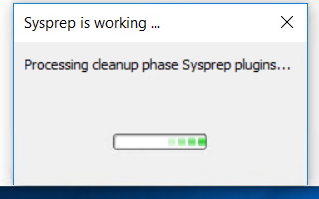
- Ctrl+R and type ‘SysPrep’ and click on OK button.


- Execute sysprep.exe and select options as below screenshot.

- Copy your VM vhdx file and paste in share folder of SCVMM. In my case its in ‘Win10-Default’.
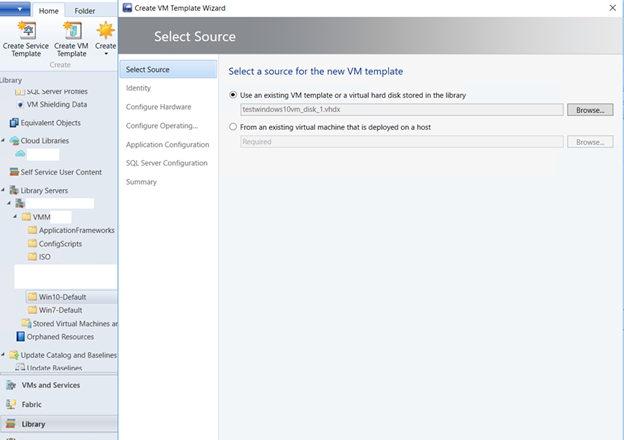
- Now Click on Library > Click on ‘Create VM template’.
- Select first radio option and same VHDX file from copied location.
- Click on Next button.
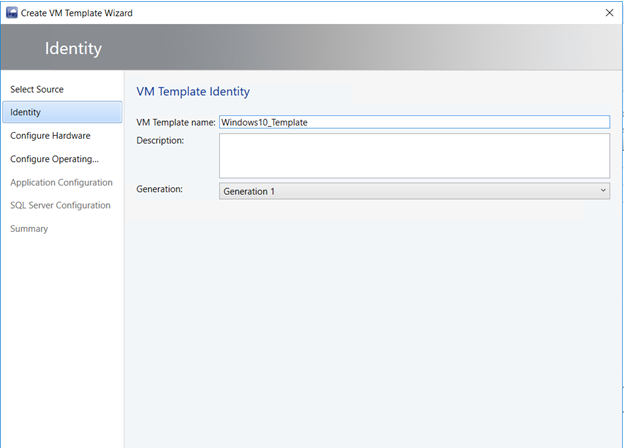
- Provide VM Template name and click on Next button.
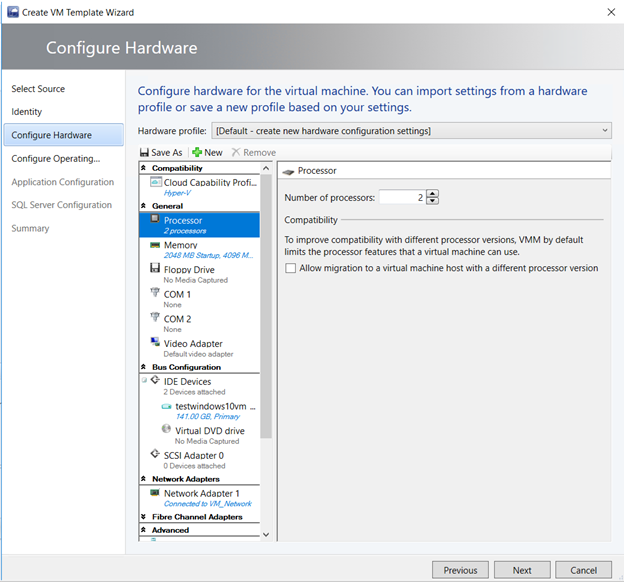
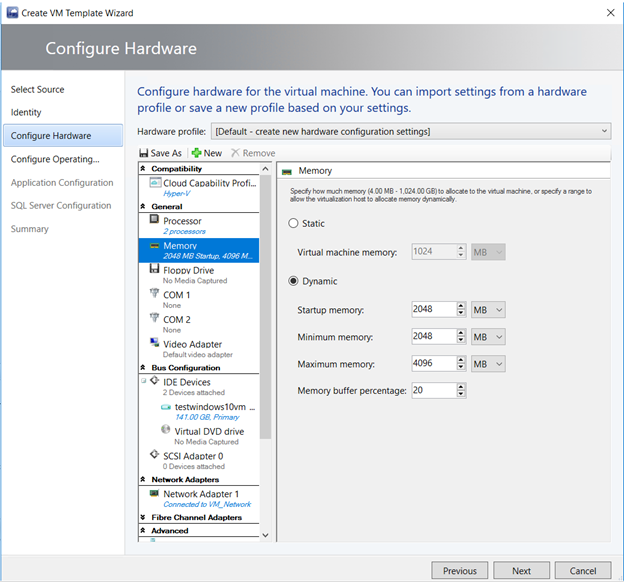
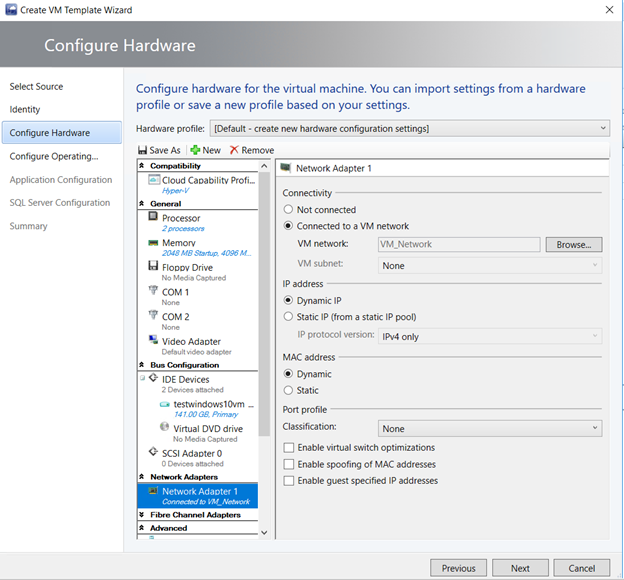
- Now check the details in ‘Configure Hardware’ section. Its same as while creating VM we have given.
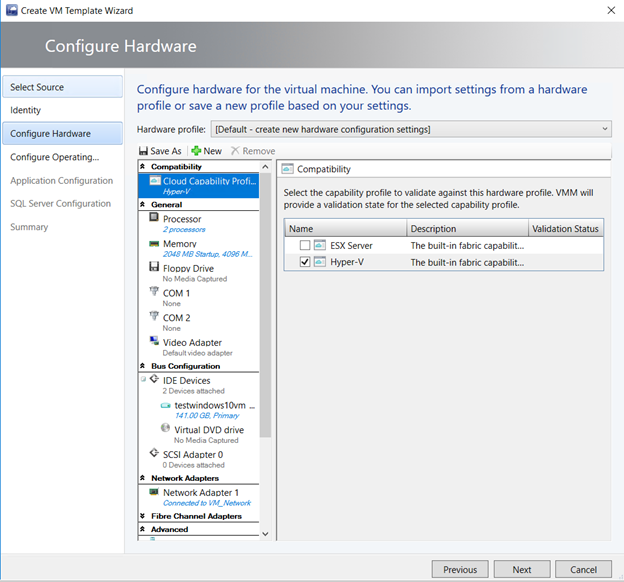
- Make sure Differencing Disk checkbox is checked.

- Provide the details in Configure Operating System as given below screenshots


- Provide Product Key

- Provide Domain and Workgroup details.

That’s it. In last screen, click on Create button to complete your process.

Thanks for posting this. I have been fighting this for a long time. Your fix worked perfectly.
I am glad it worked for you.